Video Production
What Does Full-Service Video Production in NYC Include?
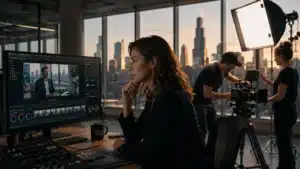
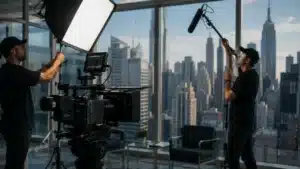
Key Takeaways Full-service video production in New York means one partner owns all five stages, from strategy to delivery, so you brief once instead of stitching vendors together. The shoot