Before making any video, brands put all their focus on planning.
At least 25% of businesses invest in a yearly video production plan. [Source: Broadcast2World]
This is perhaps one of the keys to the success of content.
Planning organizes your thoughts and guides you to a well-structured video. Without plans, you may end up making something that can repel your people.
So, you can say that video production planning can make or break your brand image.
Did your mind become a blank screen?
Well– here’s a thorough video production checklist to help you.
Quick Look At the Video Production Planning Checklist
- Step 1: Defining goals and audience
- Step 2: Setting a practical budget
- Step 3: Choosing your team
- Step 4: Development of a proper script
- Step 5: Creating a well-structured storyboard
- Step 6: Choosing the right tools
- Step 7: Planning shooting schedule
- Step 8: Executing the shoot
- Step 9: Editing and finalizing
- Step 10: Reviewing and Distributing
Step 1: Define Your Goals and Audience
This means specifying your objectives and target group.
Goals work like “guidance” to creating efficient video content. Besides giving you direction, they help you stay focused on what you want to achieve.
Without these, your video may end up like a message in a bottle—floating aimlessly.
Set Clear Goals
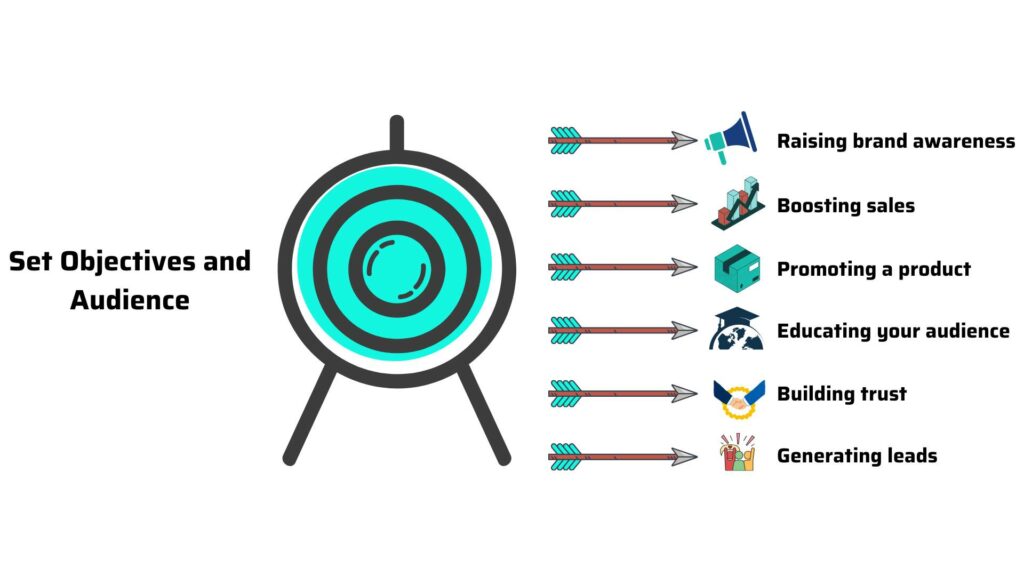
Start by noting down all your objectives. Then, narrow the list down to specifics. Ask yourself why you’re making it and what you want to achieve. Is it for—
- Raising brand awareness
- Boosting sales
- Promoting a product
- Educating your audience
- Building trust
- Generating leads
Specifying it will help you track success. You can consider using SMART methods here.
Many marketers aim for brand awareness.
At least 36% of marketers say it’s their main goal for video marketing. [Source: WebFx]
Identify Your Audience
Know who your target viewers are.
Understanding your audience means identifying their— age, preferences, culture, beliefs, challenges, and interests.
Content for teenagers will be fun and energetic whereas the ones for professionals will be formal. Both will be different.
Some common audiences for brands are—
- Consumers or the General Public
- Existing Customers
- Leads
- Brand Influencers
- Industry Professionals
- Community Groups
- Local Audience
- Niche Groups
- Special Interest Community
- Generation Segments
- Investors or Stakeholders
The content must resonate with your audience’s— needs, interests, and pain points.
Set Measurable Metrics
Define what success looks like for your video.
Let’s say, the goal is raising brand awareness. For that, you may need to check out key metrics like—
- Views
- Shares
- Likes
- Comments
If you want to generate leads, you may aim for at least a 20% conversion rate.
This can help you evaluate the effectiveness of your video easily once it’s posted.
Step 2: Set a Realistic Budget
Budgeting stops you from overspending.
You can control your expenses through proper budget management.
For this, you have to study the cost range of each element and stage. It can help you make proper decisions without giving up content quality.
Typically, video production costs have a wide range.
It can go from $1000 to 200,000 based on multiple factors.
This is basically what video production companies charge.
If you DIY, you have the power to control cost but there’s a little chance of going over budget.
Break Down Costs
You can avoid the overhead costs if you break them down. Know how much each activity or element will take. This can help you smartly allocate the budget.
| Factors | Tools | Price |
| Cameras | Entry-level models | $300 to $4000+ |
| Professional-grade | $5000 to $15,000+ | |
| Lenses | $1000 to $3,000+ | |
| Lighting Kits | Basic kits | $1000 to $10,000+ |
| Talent | Voice-over artists | $100 to $500+/hour |
| $200 to $2,000+ for short projects | ||
| On-screen actors | $50 to $5000+/hour | |
| Video editing | Editor | $90 to $700+/hour for short projects |
| $500 to $2,000+ for medium or big projects | ||
| Video editing rates | $50 to $150+/hour | |
| Color grading | $800 to $1,600+/day | |
| Sound Design | $200 to $800+/project | |
| Logistics | Rental | $1000 to $3000+ |
| Permits | $200 to $1000+ | |
| Local transportation | $200 to $2000 | |
| Flights | Over $1000 | |
| Miscellaneous | Over $5000 |
Stretch Your Budget
Have a limited budget?
In that case, prioritize what’s essential for your video. Opt for more reasonable options.
For instance,
- Rent equipment rather than buy it.
- Try using stock footage– free of license for some scenes to reduce costs.
Make sure to balance quality and budget. If you’re a pro videographer, shoot the video yourself and cut down some expenses.
However, if you aren’t, consider a good video production company like Local Eyes. We usually offer pro-level videos at around $5,000 to $20,000+. The price depends on style, elements, and length.
Step 3: Assemble Your Team
The team acts like a foundation so make sure it’s strong.
Pick a team that’s creative and talented. A skilled and productive team can produce content that works out for viewers.
When hiring professionals, go through their work. Check out if they’ve covered different types of content. That can help you opt for one.
Key Roles Needed
Each pro plays a key role in quality content for brand marketing.
Director: Guides the overall vision of the video.
Camera Operator: Captures all the visuals as per the storyboard.
Sound Technician: Make sure that the audio quality is crisp and clear.
Editor: Puts together all the footage and creates the final version of the video.
SEO Strategist: Optimizes the video on all platforms so it appears at the top.
If it’s a big project, try LocalEyes. We have all sorts of experts to handle different video types like–
- Brand documentaries
- Explainers
- Promos
- Product launches
- Testimonials
- Training
- Event Coverage
Outsourcing and Freelancers
Opt for freelancers if your budget is super tight.
Good freelancers often bring specialized skills and creativity to the project. Sometimes, they can be as good as any video production company.
However, we wouldn’t suggest it for bigger projects. It’s better to have a team instead as they all work together regularly. This ensures efficient synchronization and management of the project.
Freelancers from different backgrounds may struggle with communication. This can lead to inconsistency.
Then again, things are different for shorter projects. You can consider them for content like— short clips, event highlights, product demos, or BTS shooting.
Step 4: Develop a Script
The script makes up–
- The narration
- The tone of the dialogue
- The overall flow of the story
Developing one will help visually outline all the scenes and sequences of the video.
Make sure it’s well-structured because it’s the backbone of your content.
Writing A Script
Before writing one, define your purpose and audience. Prepare a script based on these two.
Now, list the core messages you’d like to convey. Use simple, concise language to make your message and information clear.
For the structure, start with an attention-grabbing statement. It can be a fact or a hook.
Expand on key messages and striking features of the product. Include supporting details, stories, graphics, and other elements in the body. Note down what you’ll use to portray them.
Summarize the main points and add a CTA like– Visiting the website, Subscribing to channels, and Following on Social Media.
Align with Goals and Audience
Make sure your script supports your goals and TG. The content should directly speak to your viewers.
Create a script that addresses their needs or problems. Such alignment will ensure–
- More engagement
- Clear messaging
- Stronger brand connection
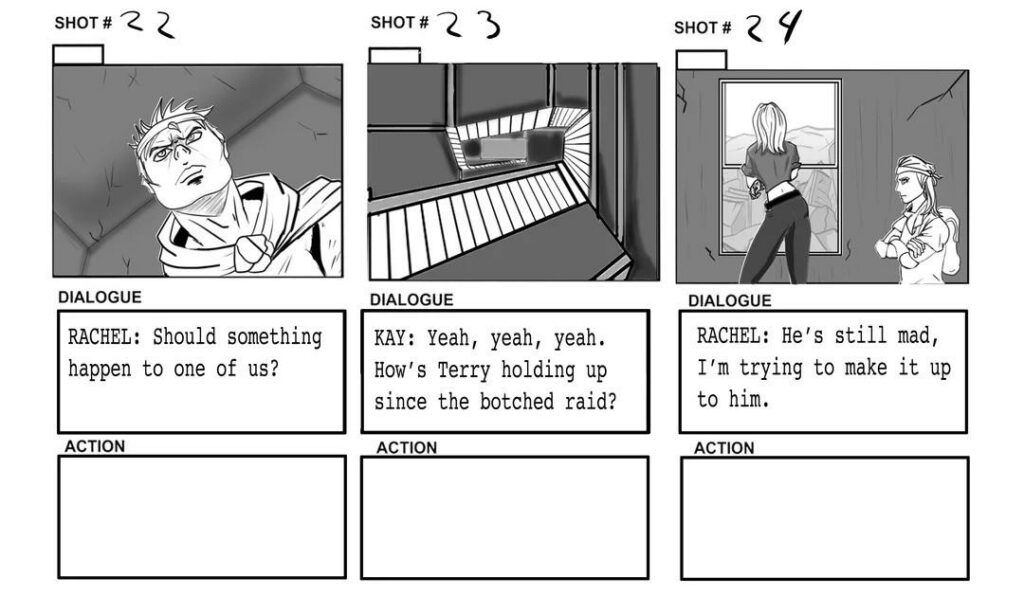
Step 5: Create a Storyboard
Turn your script into a visual plan with a proper storyboard.
It’s like a map. There– you can illustrate the key moments of a story through a series of drawings or images. You present them chronologically.
With each scene, the storyboard guides your production team. This ensures that everyone understands your vision.
Storyboarding Tools
The internet has many free and paid tools that you can use for the job. Some great options are– Canva, Storyboard That, and Adobe Spark.
You can also use sketches or combine them with digital tools. It’s all up to you.
Storyboarding Techniques
Make sure each frame depicts the action, camera angles, and dialogue.
Outline the purpose and key message. This makes sure every scene aligns with your brand goals.
Use a linear progression to guide viewers through the story.
Represent important props like graphics or settings that reflect your brand identity.
Identify how each scene will transition to the next. Consider fades, cuts, or overlays. Maintain a smooth flow.
Use annotations. Add notes for dialogs and music cues to make sure every element is well-synchronized.
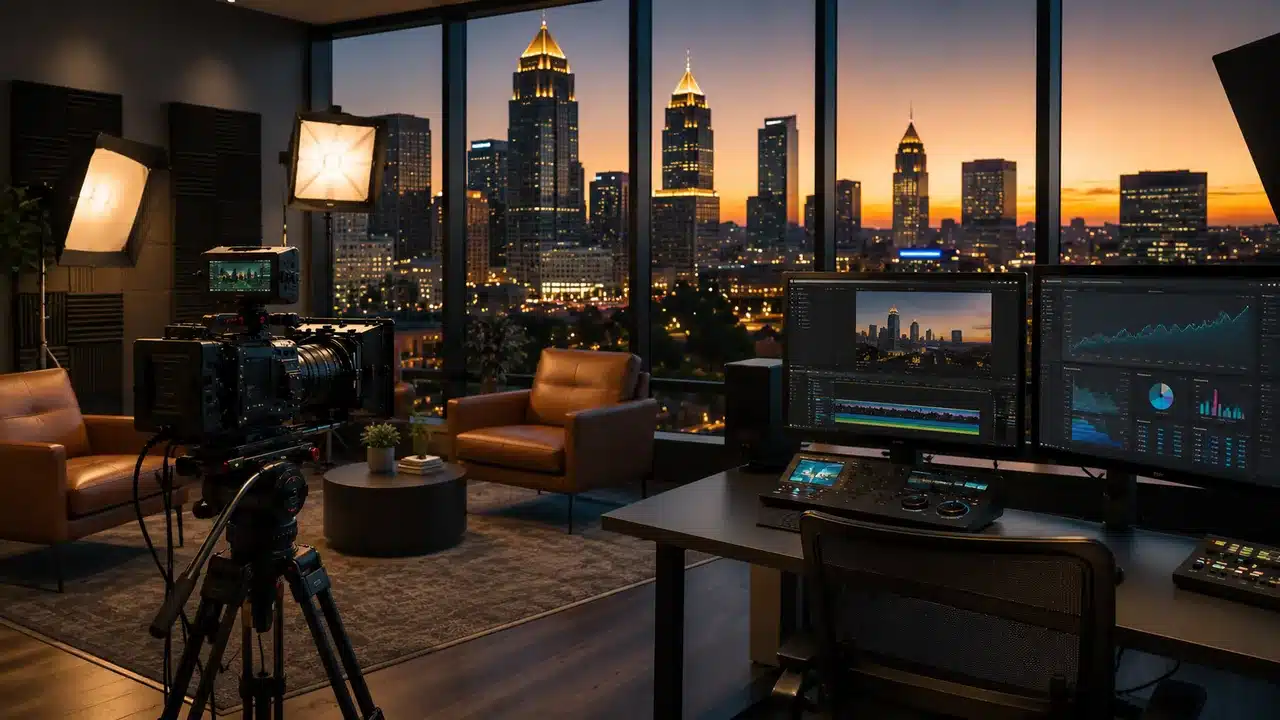
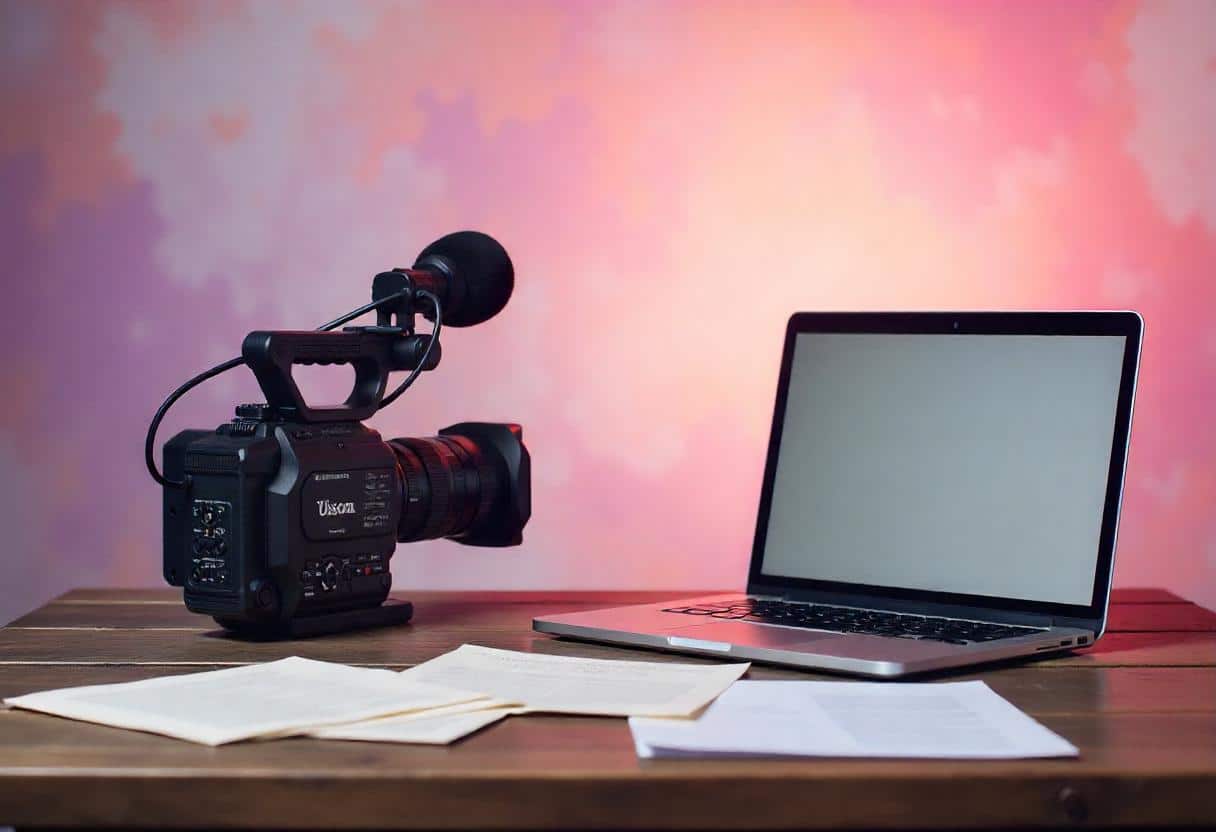
Step 6: Choose The Right Equipment
Proper equipment does make a big difference.
Check out content made of bad and then ones made of proper tools. The final look and feel of your video will be different from one another.
You don’t need to have the priciest equipment. Reasonable options can give you high-quality results.
Essential Equipment List
| Equipment | Tools | Examples | Purpose |
| Camera | DSLRs | Canon EOS 5D | Sharp, clear, and vibrant footage. |
| Mirrorless options | Sony Alpha series | ||
| Microphones | Shotgun mics 600 | Sennheiser MKE | Crisp, clear audio. |
| Lavalier mics | DJI Mic | ||
| Lighting Kits | Softbox lighting kits | Elinchrom D-Lite RX 4/4 To Go | Eliminate harsh shadows. |
| Stands | Sturdy tripods and monopods | Manfrotto’s BeFree 3-Way Live | Stable shots |
Budget-Friendly Tips
If you’re producing content with a limited budget, try smartphones.
Just make sure they have advanced cameras. You’ll see many brands that are producing videos with a phone.
For instance–
Apple has shot BTS content on iPhone.
Smartphone cameras can be surprisingly effective for certain types of videos like–
- Vlogs
- Social media content
- Event Highlights
- Candid videos
- Interviews
You can also rent equipment from local suppliers or your acquaintance. Try to get the best rental services for high-quality gear. Look for the local ones.
Step 7: Plan Your Shooting Schedule
Fix a date when you want to make it happen. The shooting.
Have a detailed shooting schedule. This will work to streamline the filming process. With that, you can ensure that you or your team shoots every scene on time.
Creating a schedule
Jot down the scenes, locations, props, and actors involved and plan each day accordingly.
Think about lighting, weather conditions, and any necessary permits beforehand.
Follow these to create a schedule–
Start with the most important scenes.
Early in the day, the crew feels fresh, and everyone has more energy. Make the most out of it.
Shoot daylight scenes during the morning.
Schedule the scenes that require natural lighting for the— morning or early afternoon.
Plan indoor scenes for later.
Then switch to indoor scenes or those where you can control the lighting. That way, you can keep shooting without any worries.
Use the golden hour time.
If you want a beautiful, soft-light look for the video schedule these shots during the golden hour.
The time shortly after sunrise or before sunset will be the best. This lighting adds a natural warmth to your video.
Night shots last.
If you need nighttime or low-light scenes, schedule them for the evening. This makes sure that you have complete control over artificial lighting.
Allow For Flexibility
Consider factors like setup time and breaks to avoid delays.
Always build some buffer time into your schedule. This helps you deal with any unforeseen issues like weather changes or technical difficulties.
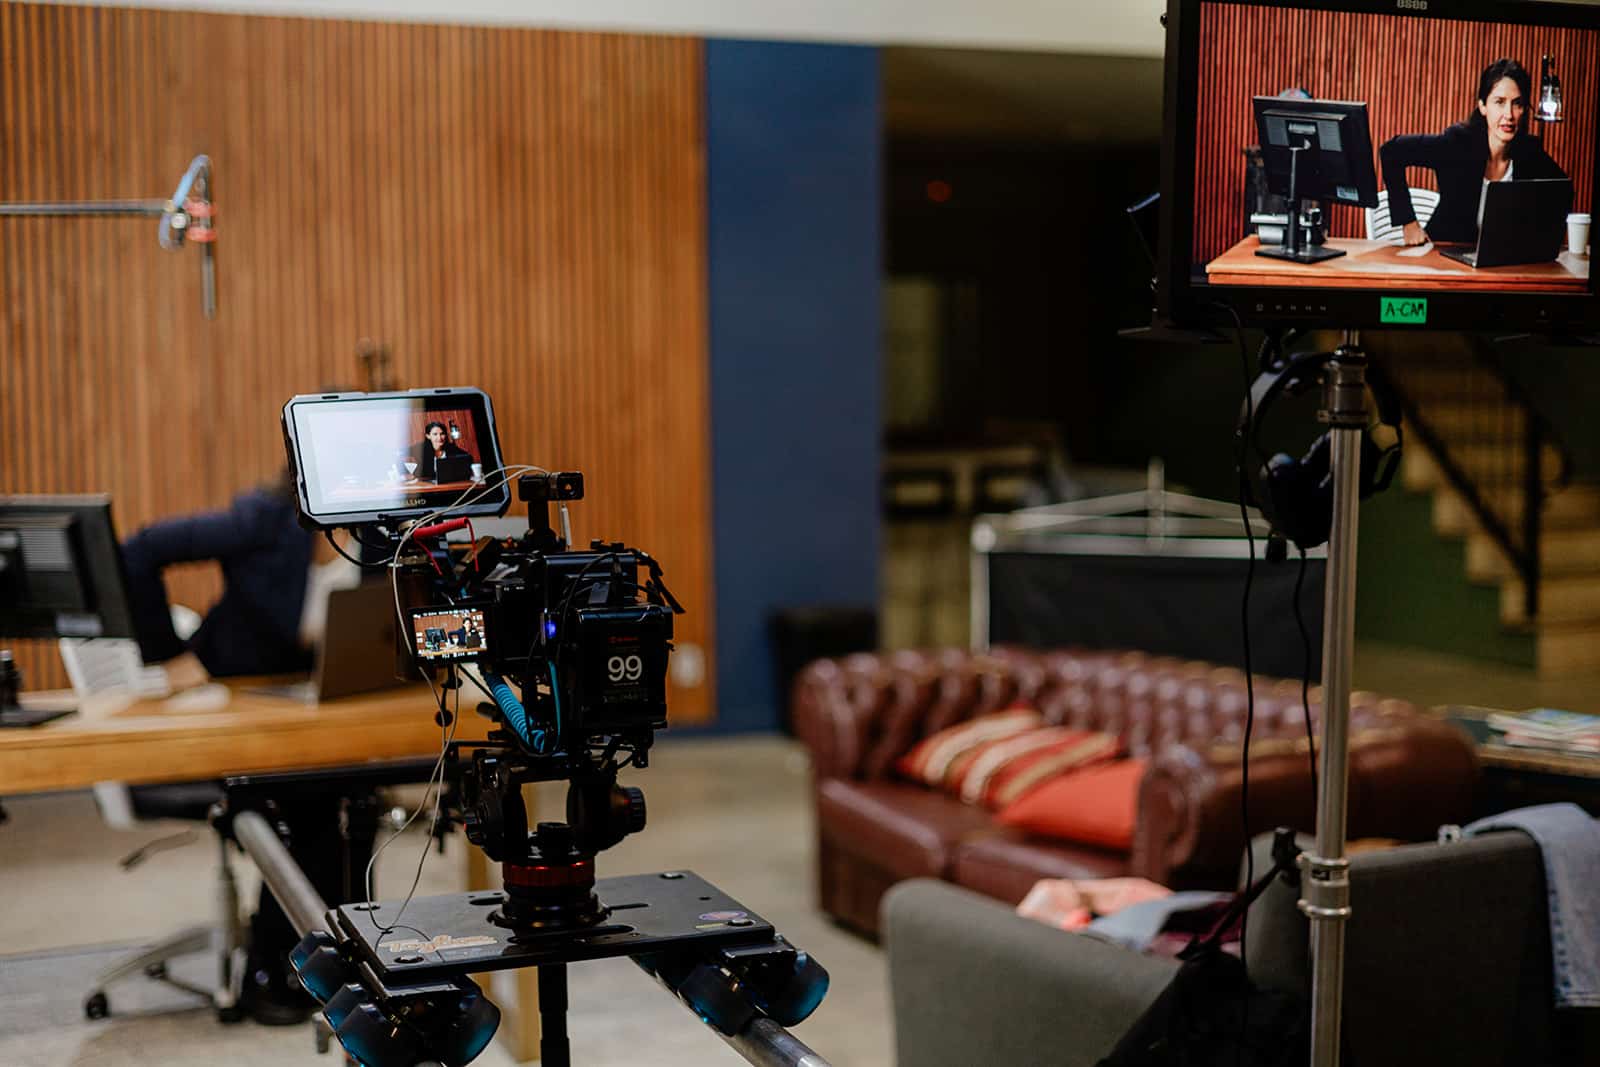
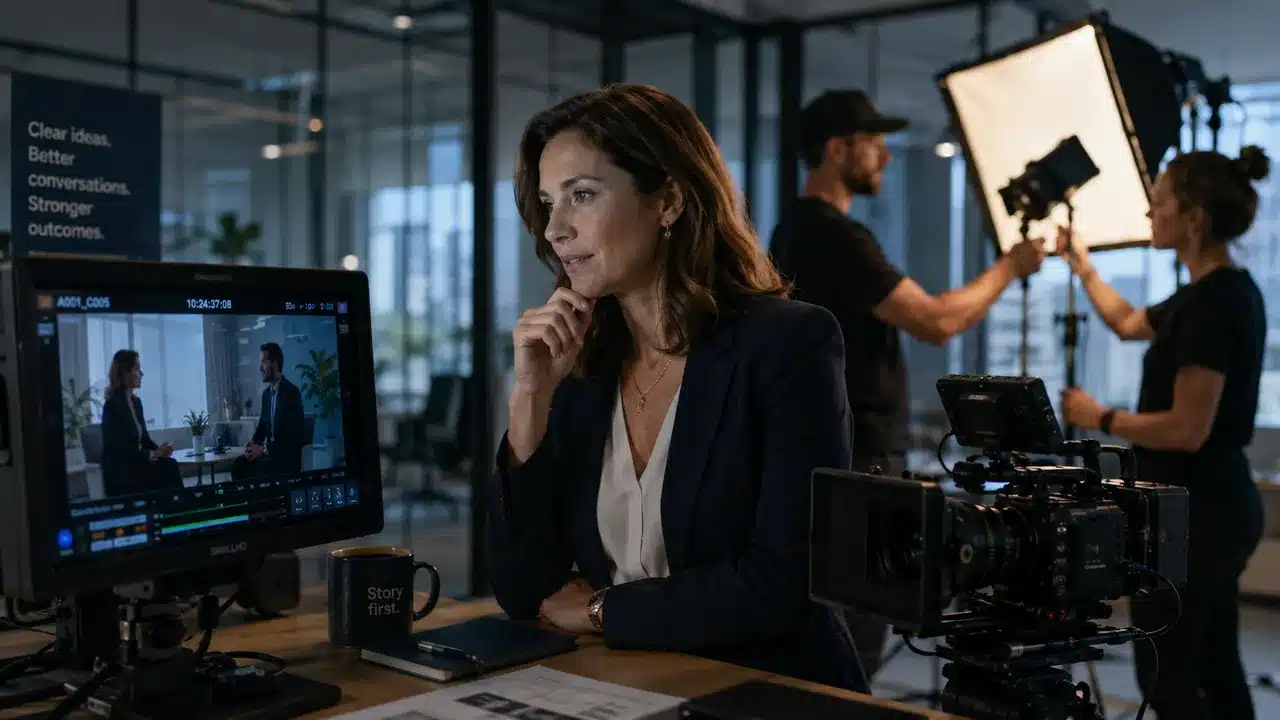
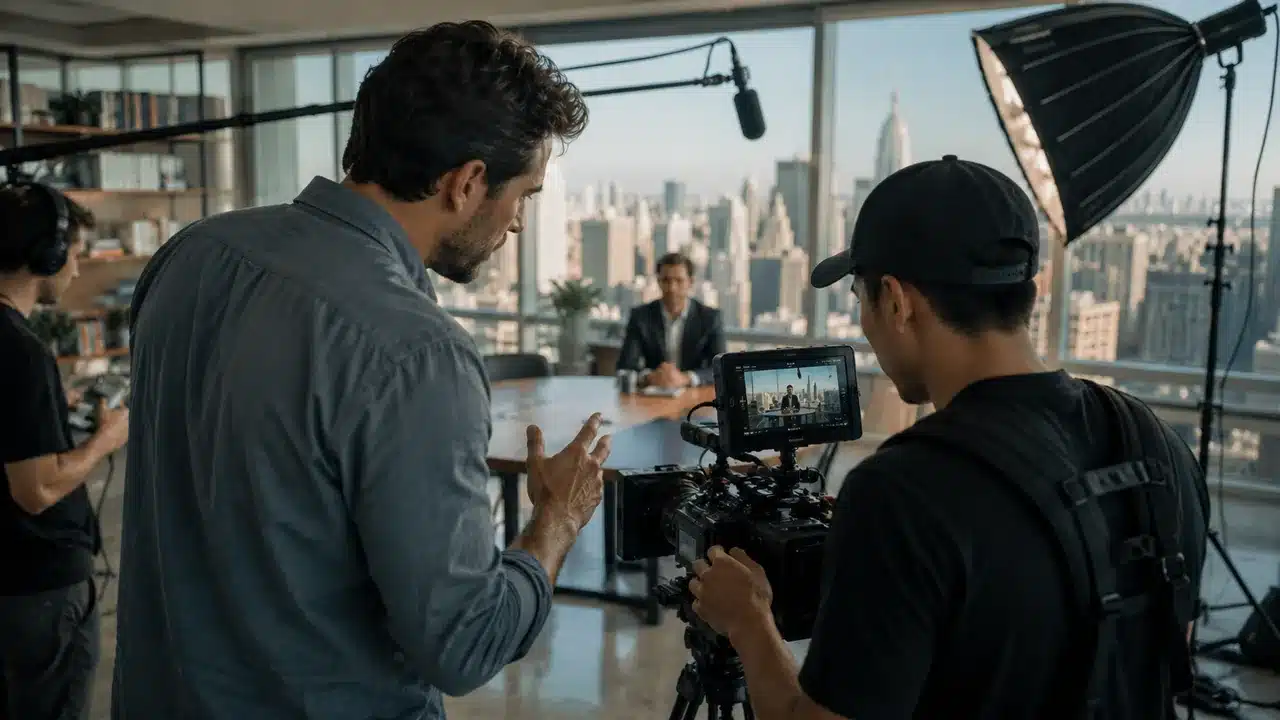
Step 8: Execute the Shoot
Here’s where the actual filming happens. All the hard work, planning, and preparation come to life in this phase.
When shooting, stay organized and be flexible. That’s how you can manage the shoot efficiently.
Directing Your Video
Make sure the videographer captures high-quality footage. They must get angles and moments perfect.
A good team always brings out the best in the footage that aligns well with your brand/product. Here are some tips–
- Use natural light to get the best view. Sunshine is perfect for this.
- Mix multiple camera angles– wide, medium, and close-up shots.
- Avoid harsh shadows with diffusers and softboxes.
- Apply the rule of thirds for balanced framing.
- Keep the subject centered and well-framed.
- Use lapel and shotgun mics for clarity in sound.
- Keep the camera at eye level for testimonials and interviews.
- Monitor audio levels with headphones.
- The background should be plain.
Camera and Locations
| Camera Angle | Location tips | Video Content Type |
| High-angle | Rooftop, Balcony, open space | Product demos, brand announcement |
| Wide shots | Park, cityscape, sea, mountain, city skyline, and open areas | Brand awareness, intro videos, brand documentaries |
| Medium shot | Outdoor cafe setup, park. Workspace setup, meeting room | Team intro, explainers |
| Low-angle | Lobby, entrance, tall structures, skyscrapers | Testimonials, brand strength |
| Close-up | Bench at a park, picnic table, indoor space, room | Product demo, tutorial |
| Aerial Shot | Building, event space, sea, mountain, forest | Event highlights, brand impact content |
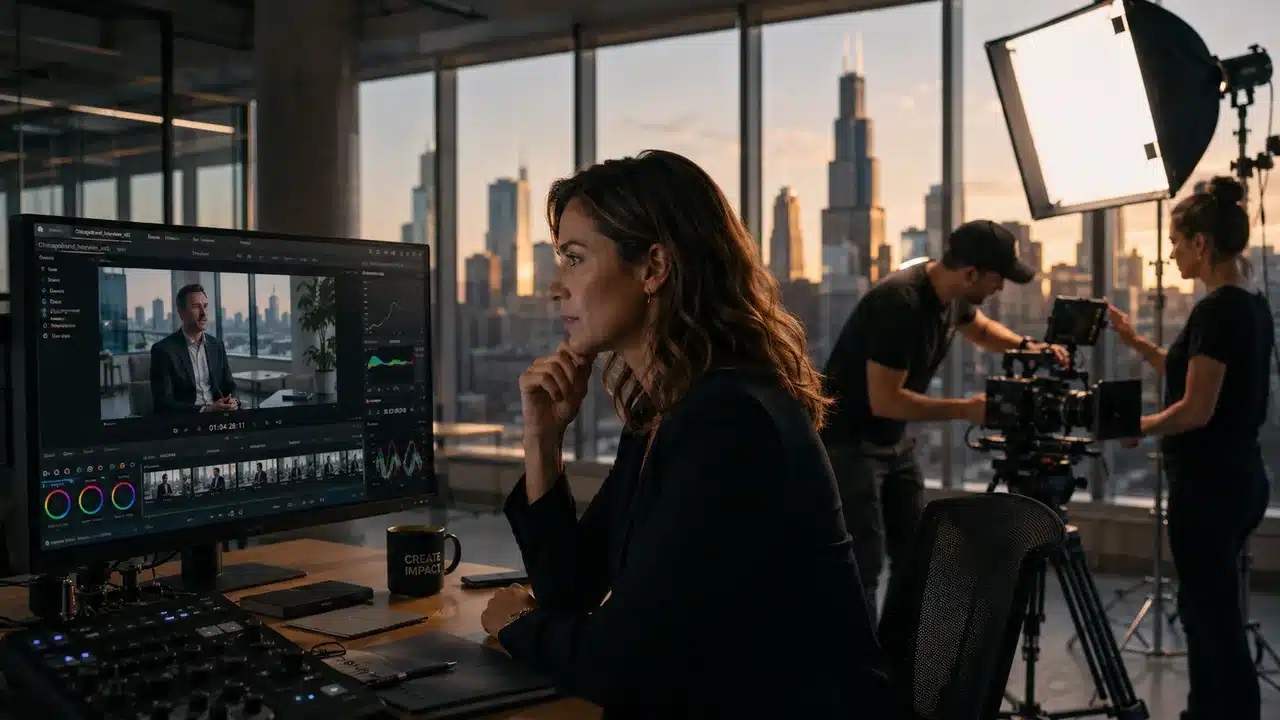
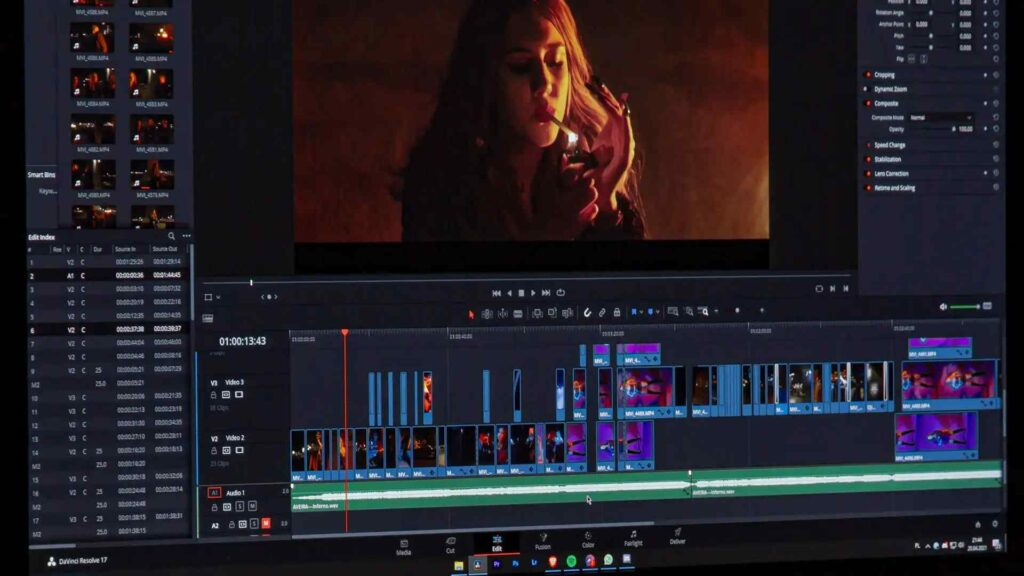
Step 9: Edit and Finalize the Video
Editing puts together all the clips and gives your content a structure. It turns the raw footage into completely polished and engaging content.
Editing Process
The most common editing process involves 5 phases. All these efforts help your content and your brand story stand out.
Cutting
This removes parts you don’t want. It keeps the video concise and to the T.
Transition
A special effect that connects two video scenes together. You can add smooth transitions between shoots to make the video flow nicely.
Visual Effects
Make your video more creative with visuals. You can add graphical elements, text overlays, animations, or other special effects. Exploit your creativity here.
Color Grading
Here, you adjust colors to create a consistent and appealing look. Make sure it’s not very loud and annoying. Keep it vibrant or sometimes low-saturated depending on what the project demands.
Sound Design
Remove unwanted background noise and balance audio levels with sound editing tools. Make sure the sound quality is crisp and the vocals and music are audible.
Recommended Tools and Other Tips
You can find multiple pro-level editing software online. The web has both free and paid tools that can edit your content well.
Some good options include—
- Adobe Premier Pro
- Final Cut Pro
- DaVinci Ressolve
Make sure to keep the files organized. This helps you avoid losing them.
Better to label the clips. It works to streamline your workflow and save you time.
Step 10: Review and Distribute the Video
The final step.
To make sure your brand video reaches the audience, review them first. This will help you catch any last-minute errors.
After all the things look fine, step towards distributions. Proper dispatch of your content can maximize the impact.
Quality Check
Watch the videos multiple times. Check for any glitches, sound errors, or inconsistencies.
Make others see your draft and get feedback outside the team. They can give you a fresh perspective from the viewers’ POV.
Distributing Strategies
Opt for multiple channels since this enhances visibility. Some of the best video marketing platforms for your content are—
- YouTube
- Snapchat
- Tiktok
- Vimeo
The more mediums you use, the higher the chances that your videos will go viral.
Also, optimize your content with SEO tools. Optimized content can easily rank on platforms and search engines.
Use relevant and winning keywords in—
- Video titles
- Descriptions
- Tags
- Metadata
Common Mistakes to Avoid in Video Production
- Overcomplicating the video content with excessive branding
- Lack of proper planning and scripting
- Coveying unclear messages
- Inconsistent tone
- Poor production quality
- Taking videos without steady tripods and using shaky footage
- Shooting under poor lighting and loud background noise
- Wrong call to action
- Ignoring post-production details
- Jump cut overuse
- Unnecessary elements and details
- Being too salesy
- Poor storytelling
- Not optimizing
Frequently Asked Questions
What is video production planning?
What are the 10 steps in video production?
Step 1: Define goals and audience
Step 2: Set a practical budget
Step 3: Choose your team
Step 4: Develop a proper script
Step 5: Create a well-structured storyboard
Step 6: Choose the right tools
Step 7: Plan the shooting schedule
Step 8: Execute the shoot
Step 9: Edit and finalize
Step 10: Review and Distribute
How do I ensure my video production is successful?
→ Thoroughly plan your concept
→ Clearly define your target audience
→ Write a detailed script
→ Choose the right location and equipment
→ Execute high-quality visuals and audio
→ Edit with precision
→ Promote your video effectively
Step Towards Success With Proper Video Production
Planning is your powerful tool. This can help you create content that can— reach your audience and convert them.
From setting goals to shooting to distributing, each step plays a key role in the result of your video.
If you want to hype your brand or product, produce a video with proper planning.

Founder at LocalEyes Video Production | Inc. 5000 CEO | Emmy Award Winning Producer