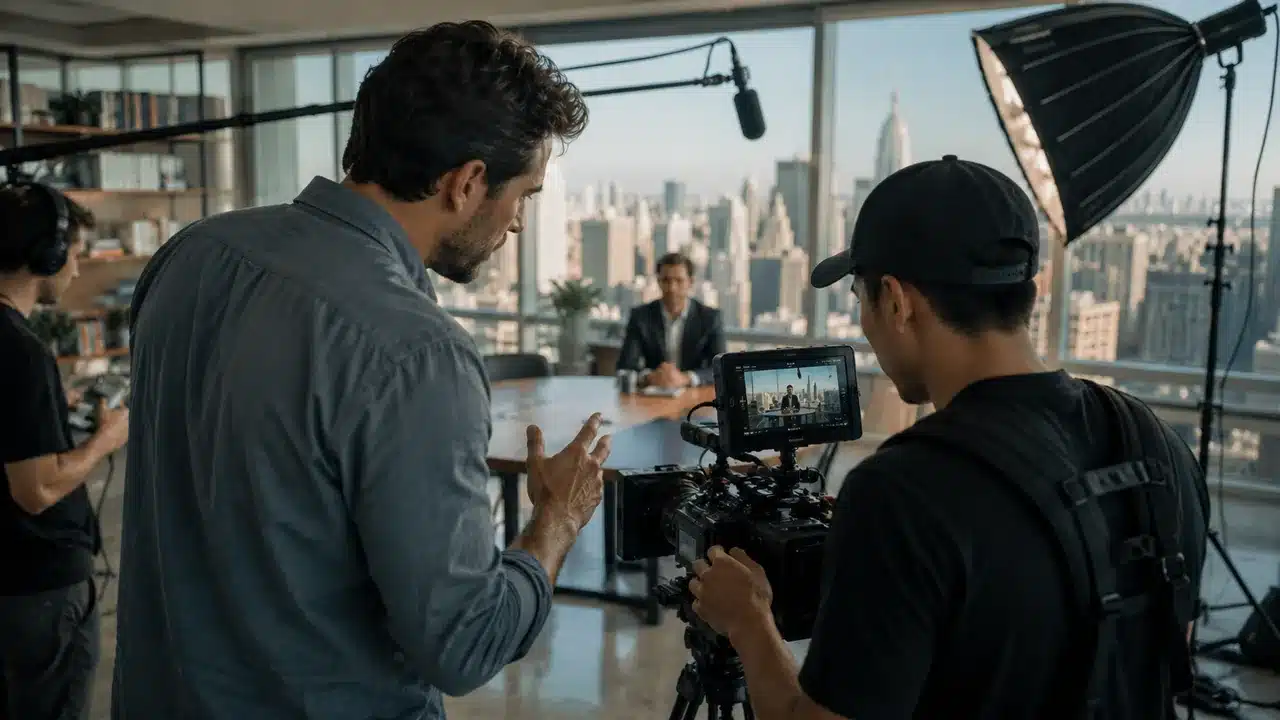
Video-producing can be time-consuming and complex if you do not follow a certain method. Video production is usually divided into three stages, Pre-Production, Production, and Post-Production.
It is not restricted to this only as there are a couple of things that can come before and after these three primary stages. A good business video can boost your online presence.
Understanding this structured timeline of video production is important if you plan to create testimonials or even captivating commercials. With the growing demand for high-quality video, people have changed their game to capture consumers’ attention.
When you upload a video online, Google’s algorithms best put your video in the top ranks when made well.
Today we will be talking about the ways you can set your business video production timeline stages efficiently. You can get a good understanding of how long you might need and what you need to complete a proper business video.
A Quick Look At Business Video Production Timeline Stages [From Start To Finish]
Here’s a general breakdown of the estimated time needed to complete a business video from start to finish
| Stage | Timeline for Simple Testimonials | Timeline for Standard Corporate Video | Timeline for Complex Commercial |
| Pre-Production Planning | 1 week | 2 weeks | 3 – 4 weeks |
| Scheduling and Timeline Creation | 1 – 2 days | 3 – 5 days | 1 week |
| Pre- Production | 1 – 2 days | 1 week | 1 – 2 weeks |
| Production | 1 day | 2 – 3 days | 1 week |
| Post-Production | 1 – 2 weeks | 2 – 3 weeks | 4 – 6 weeks |
| Review and Feedback | 3 – 5 days | 1 week | 1 – 2 weeks |
| Distribution and Marketing | 1 – 2 weeks | 2 – 3 weeks | 3 – 4 weeks |
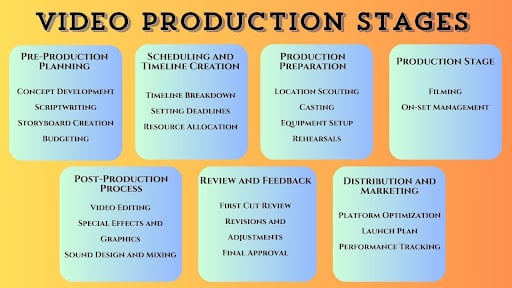
Video Production Timeline Stages [Detailed Timeline]
Let’s break down the production timeline into 7 stages.
Stage 1: Pre-Production Planning
Pre-production planning is the first stage of setting the groundwork for a video project. This stage plans out the video so that every element of the video aligns with the intended goals.
Concept Development
- Purpose and Goals: Here you define what the video is intended for, such as a product launch video might aim to entice potential customers and drive pre-orders.
- Brainstorming: Sit with your content team across multiple sessions to generate ideas. You can use tools like mind mapping or brainstorming apps to sketch out ideas that can help visualize concepts.
- Finalizing the Concept: Once you have a few ideas in place, pick the one that fits best and move forward with it. Make sure it fits your budget and resources.
Scriptwriting
- Outline Creation: Here you draft an outline structures down the narrative you plan to follow. Try to have an attention-grabbing introduction, followed by a detailed body that conveys the main message. Make sure to have a proper call to action.
- Script Drafting: Through the script, you can effectively communicate your final message. For a product demo video, you can show the product in use, customer testimonials, and product features.
- Revisions: Revisions are important as you can change various ideas to better suit your outcome. You can also share with stakeholders such as marketing teams, product managers, or focus groups.
Storyboard Creation
- Visual Storytelling: Covert the script into a storyboard be it hand-drawn or created with software. There are many apps like Storyboard That or Adobe Photoshop for this
- Detailing: Each frame should be annotated with details about camera angles, lighting, and movement. For instance, a scene might specify a close-up shot to capture the emotional expression of a character when using your product.
- Approval: Once all the above is done you have to finalize the storyboard and have it approved by all key stakeholders. If done properly, you reduce the likelihood of having any last-minute changes during production.
Budgeting
- Cost Estimation: Potential expenses can include talent fees, location charges, and post-production costs. Include a buffer of around 10-20% for unforeseen expenses.
- Resource Allocation: Understand where you need to spend the most. For example, high-quality visual effects are expensive so you can reduce costs in other areas to spend a majority of the budget here.
- Financial Approval: The stakeholders and sponsors need to be given a detailed budget so that they can see how efficiently money is being allocated. Once this is approved, you can move on to the next stage.
Stage 2: Scheduling and Timeline Creation
This stage is important as this makes sure your business video production project progresses smoothly to meet deadlines. Here are the things that you need to look into at this stage.
Timeline Breakdown
- Establishing a Detailed Timeline: Create a detailed timeline to outline each phase of production. Allocate time for scriptwriting, storyboard approval, and casting. There are many software like Microsoft Project or Trello you can use to visualize this timeline.
- Milestones: It is best to set milestones within the timeline for major achievements. This helps keep your team in check and ensures everything is going as planned.
- Flexibility: It’s important to stick to the timeline most of the time but being flexible can help accommodate unforeseen delays or creative changes.
Setting Deadlines
- Realistic Deadlines: With how the world works, it is best to set realistic. Too short a time may get your work completed, but it may not have your intended finish. Set achievable deadlines based on the complexity and scope of each task.
- Communication of Deadlines: Make sure to communicate these deadlines to all team members and stakeholders involved through weekly meetings or digital dashboards.
- Enforcing Deadlines: Try to use a system to monitor progress so that deadlines are met. This could involve regular check-ins with team leaders or using project management software.
Resource Allocation
- Assign Roles and Responsibilities: Define each team member’s role and what they are responsible for in the production process. The main people you need are a director, a production manager, and an editor.
- Resource Needs: Make sure to identify and allocate the necessary resources for each phase of the project. This can vary from personnel, equipment, and even your budget.
- Adjustments: Be prepared to adjust resource allocation as the project progresses. For example, if editing takes time set more resources here to make sure you meet deadlines.
Stage 3: Production Preparation
All the elements and logistics needed for filming are put into place. This stage ensures that once production starts, everything operates as smoothly as possible.
Location Scouting
Identify locations that match your script and vision. A location can tell half the story you try to portray. Once identified you can proceed to obtain through permits and permissions. It is best to find one that is accessible, has a power supply, and has no noise issues that could affect filming. For instance, avoid locations under flight paths or near construction sites.
Casting
Conduct auditions to find actors or presenters best fit for the roles specified in the script. You have to take into account acting ability and compatibility with the target audience. Once selected, secure your cast through appropriate contracts that outline payment terms, schedules, and obligations.
Equipment Setup
Prepare a list of all equipment needed for the shoot, including cameras, lighting, sound, and gear. Make sure to test all equipment to ensure everything is in working order. This includes checking camera sensors, light functionality, and sound clarity. Always have backup equipment available for replacements in case of existing equipment fails.
Rehearsals
It is best to have rehearsals to run through the script and identify any areas that need adjustment. You can use these rehearsals to refine timing and interaction between actors.
- Scene Blocking: You can also block out scenes to decide how the actors are positioned with cameras. This helps visualize the final shot and makes actual filming more efficient.
- Technical Rehearsals: you can also add technical elements like lighting and sound in the rehearsals to ensure that everything is well aligned. Check how natural light affects a scene at different times of the day and adjust artificial lighting accordingly.
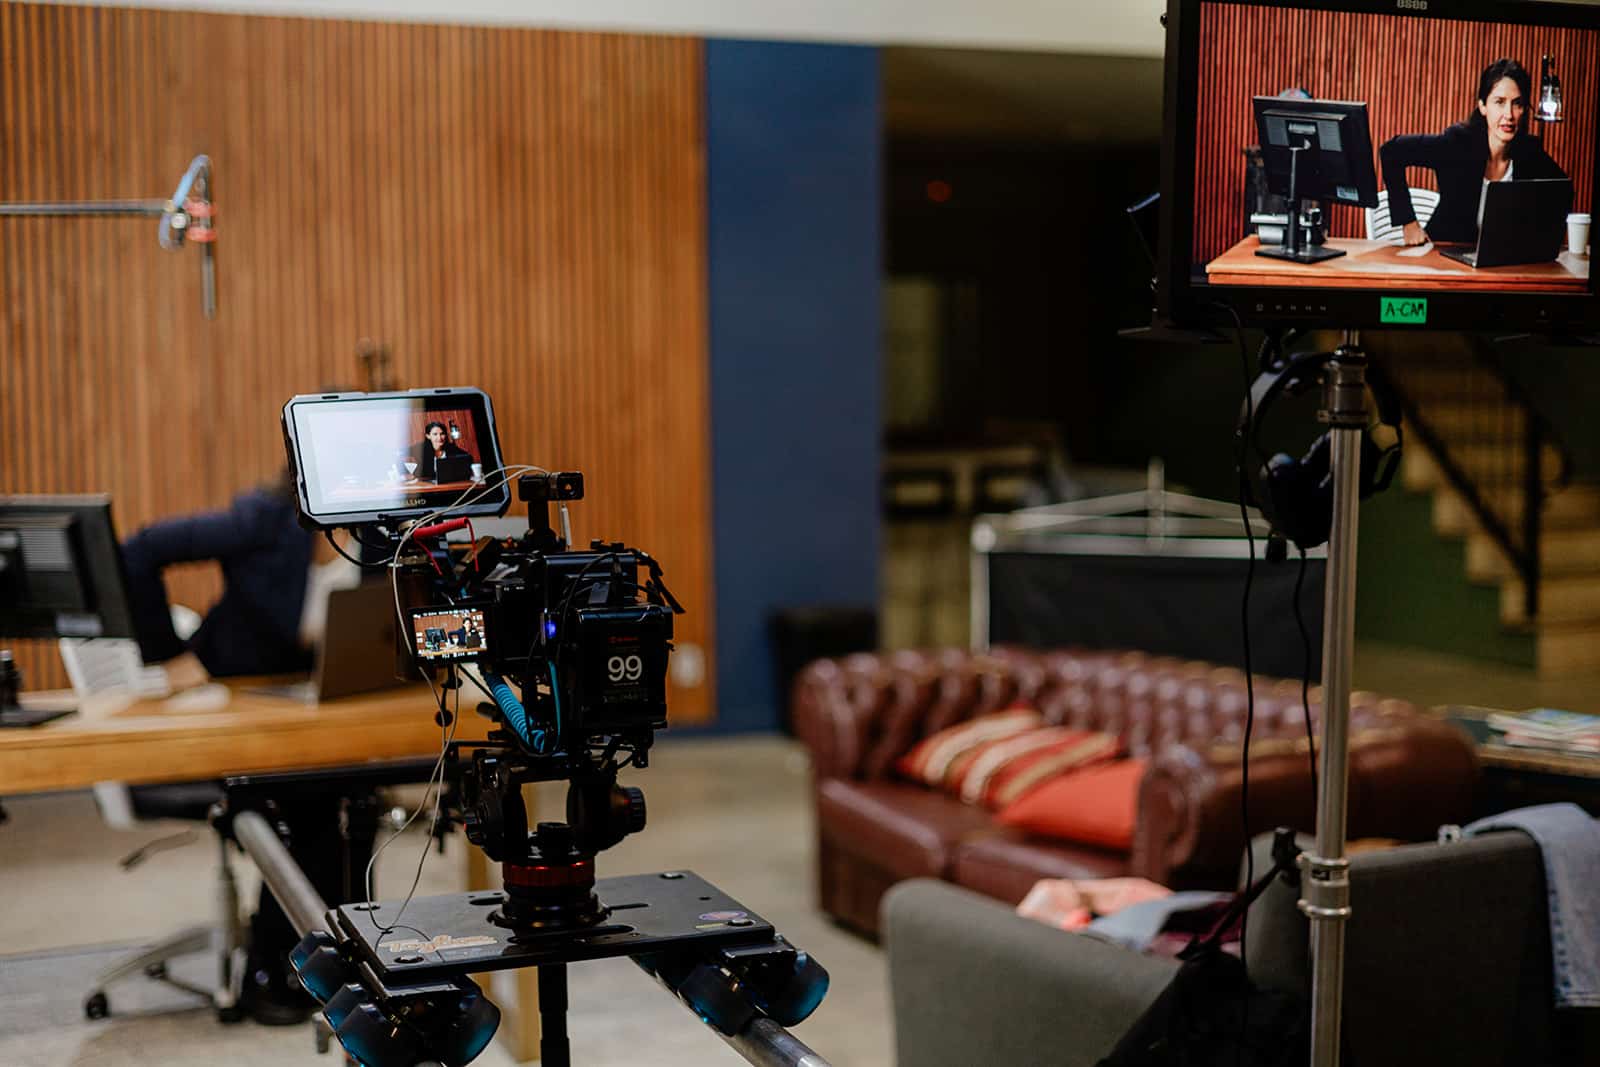
Stage 4: Production Stage
The Production Stage is the active phase of the video project where all the planning and preparation materialize into the actual shooting of the video.
Filming
- Shooting Schedule: Follow a shooting schedule that outlines the sequence of scenes, locations, and timing. It should be optimized to make the most of each day, considering factors like lighting conditions and actors’ availability. For example, scenes requiring daylight should be scheduled accordingly.
- Capturing Footage: During filming, make sure the cameraman captures every scene in multiple takes. This way you have additional footage available to add in at post-production. Check each take for focus, performance, and any inconsistencies.
- Technical Quality: Constantly monitor the technical quality of the footage which can include checking exposure, color balance, and sound quality.
On-set Management
- Team Coordination: You need to have proper on-set management for a smooth production. This can include coordinating the activities of different departments such as lighting, sound, and camera.
- Problem Solving: Always be prepared to solve issues that may arise during filming. This can range from technical issues, like a malfunctioning camera, to logistical problems, like unexpected weather changes. Keeping a contingency plan in place can help minimize these disruptions.
- Communication: Maintain clear and continuous communication across all levels of the production team. Invest in walkie-talkies to keep everyone updated in real time.
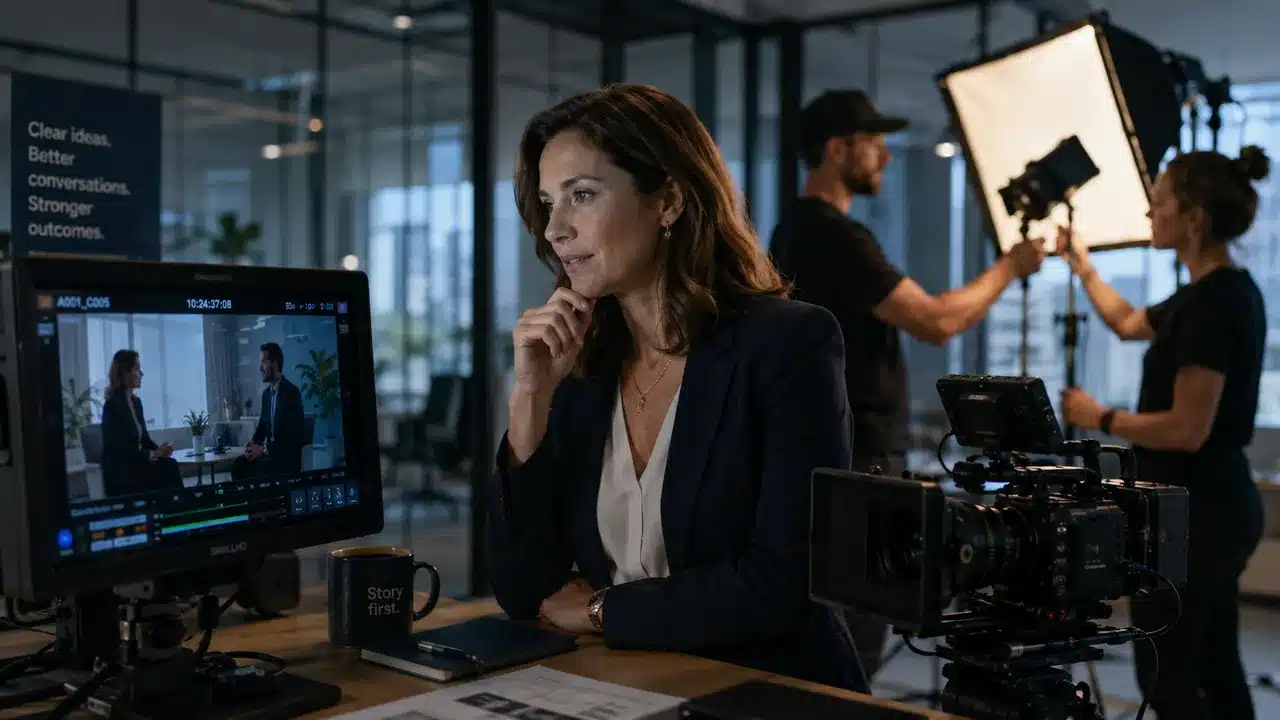
Stage 5: Post-Production Process
In this stage, all the captured footage is transformed into a polished final product. Visuals and sound are refined by adding effects.
Video Editing
- Compiling Footage: Have the editing team organize and compile all the raw footage. This includes selecting the best takes and arranging them in a sequence that best communicates the message.
- Editing for Narrative Flow: The editor cuts and assembles the footage to improve narrative flow and maintain viewer engagement. This might involve adjusting the pacing, adding transitions, and fixing continuity between scenes.
- Feedback and Revisions: Share the initial edit with key stakeholders and incorporate their feedback to refine the video. This process may have several rounds of edits to address any shortcomings in the project goal.
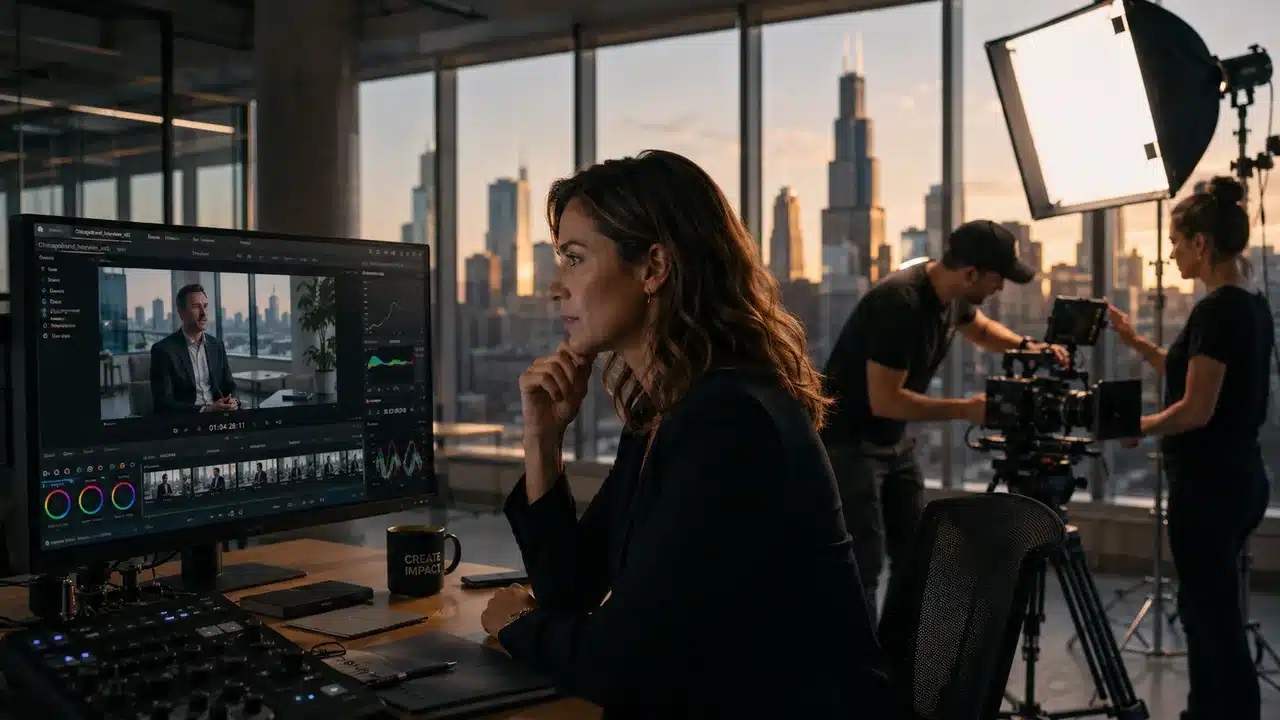
Special Effects and Graphics
- Visual Enhancements: Adding visual effects and motion graphics can improve the story. For example, an explainer video might include animated graphs or icons to illustrate key points.
- Integration: Effects need to be seamlessly integrated with the live-action footage. This includes color correction and compositing to make the visual elements look stylistically consistent.
- Review and Adjustments: Review the effects and graphics with directors and clients to ensure they meet the intended artistic vision and do not overwhelm the content. Adjustments may be needed to strike the right balance between visual flair and clarity.
Sound Design and Mixing
- Audio Enhancement: Clean up the audio tracks to remove any background noise or inconsistencies such as unclear dialogue.
- Sound Effects and Music: Add sound effects and music to set the mood and impact of the video.
- Mixing: The final mix adjusts all audio elements such as dialogue, music, and sound effects. The mix should be checked on various playback systems to ensure it sounds good on different devices.
Stage 6: Review and Feedback
This stage bridges the gap between the initial post-production and the final delivery of the video.
First Cut Review
- Initial Presentation: Present the first cut of the video to all key stakeholders. This version should be close to complete, incorporating all elements such as edited footage, special effects, graphics, and preliminary sound mixing.
- Gathering Feedback: Detailed feedback from stakeholders can help transform a good video into a great one.
- Documentation: Document all feedback to ensure that no points are overlooked during the revision process.
Revisions and Adjustments
- Implementing Changes: Based on the feedback, make the necessary revisions to the video. This could range from minor edits, like adjusting the timing of cuts or changing background music.
- Iterative Reviews: After implementing the initial round of changes, present the revised video to the stakeholders again.
- Tracking Progress: Maintain a clear record of all revisions and feedback throughout this iterative process to make sure all requested changes are made.
Final Approval
- Final Review: Once all revisions have been made and the video meets the stakeholder’s expectations, arrange a final review session. This is the last opportunity for stakeholders to approve the video.
- Sign-off: Obtain written approval or formal sign-off from the primary decision-maker, such as the client or project lead.
- Preparation for Release: Prepare the final version of the video for delivery. This includes rendering it in the required formats for various distribution channels.
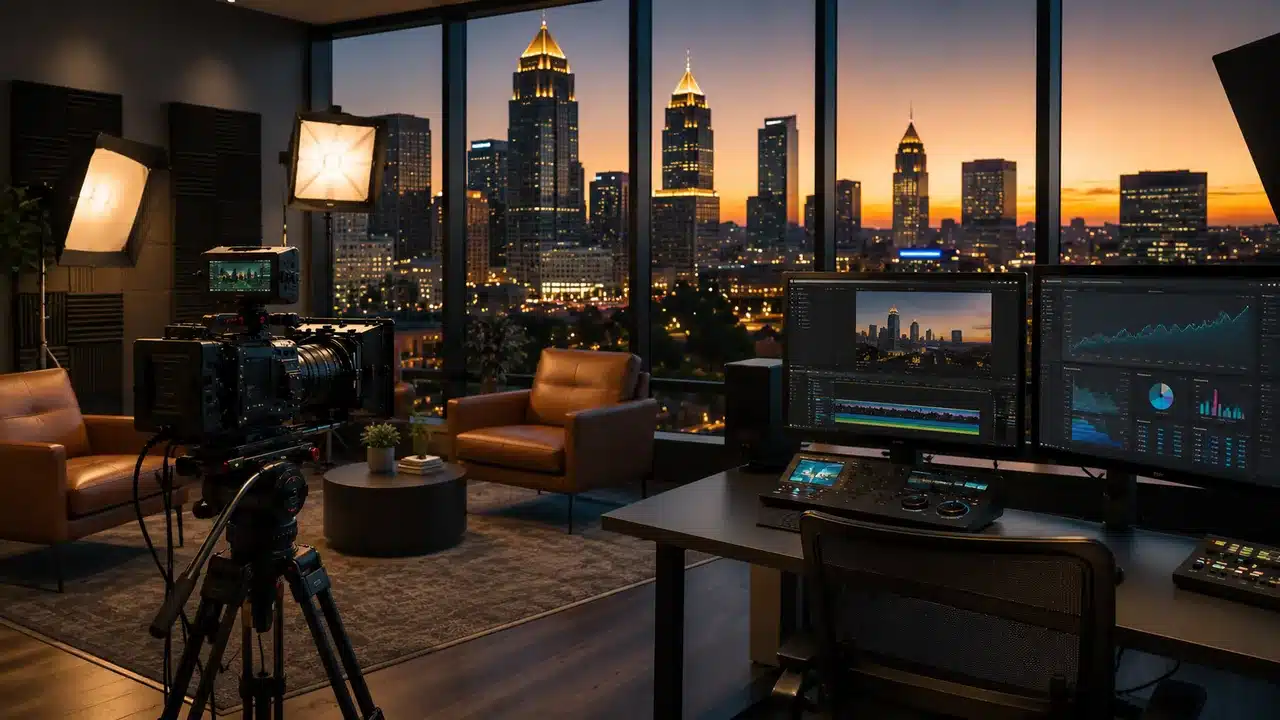
Stage 7: Distribution and Marketing
The distribution and marketing phases make sure the video reaches its intended audience.
Platform Optimization
- Tailoring for Platforms: Here you have to customize the video for different platforms to maximize its intended reach. YouTube, Instagram, Facebook, and Twitter have different aspect ratios, duration, and even content emphasis. Carve your video to fit those specifications.
- Platform-Specific Features: Utilize platform-specific features like YouTube’s end screens and cards, Instagram Stories, or Facebook’s premiere options to pack a punch. Alternatively, you can create shorter teaser clips for Instagram Stories to drive viewers to the full video on YouTube.
- Accessibility and SEO: Ensure the video is accessible to all users by including subtitles and using descriptive metadata useful for search engine optimization (SEO). Proper tagging, titles, and descriptions can also significantly enhance visibility.
Launch Plan
- Coordinated Release: timing is everything in marketing. Plan the timing of the video release to coincide with other marketing activities related to the video content. For example, align a product launch video with the actual product release date to give viewers one-stop access to all details of a product.
- Promotional Activities: When you develop a promotional plan you can generate buzz around the video. This can include email blasts, social media posts, paid advertisements, and possibly influencer partnerships
- Cross-Promotion: Use all platforms to build hype around the video. You can encourage partners to write blog posts about the video’s content or behind-the-scenes. This can help spread the video across various channels.
Performance Tracking
- Monitoring Tools: Analytics tools provided by platforms like YouTube Analytics, Facebook Insights, or Google Analytics can help monitor the video’s performance. Track these metrics which include views, engagement rates, watch time, and click-through rates.
- Feedback Gathering: Have a team reply to comments and feedback from viewers. This qualitative data can be invaluable for understanding audience response.
Adjustments and Optimization: Based on performance data, make necessary adjustments to improve the video’s reach and effectiveness. This can be simple solutions like tweaking promotional strategies or more complex ones like creating additional content from scratch.
Make All The Video Production Stages Worthy
A timeline can simplify any process into small achievable parts. Once you have your game plan ready, you can start ticking off boxes in the video production process. It also helps keep your project on track so that you know how, when, and what needs to be completed to move forward. When you do not have a proper timeline it may add to your overall cost of production.
While many businesses try to make videos in-house, sometimes, employing a video production company simplifies the process. Here is where we come in. At LocalEyes, you can book consultations to plan out you’re video needs and we will help you turn your vision into reality in no time!
Frequently Asked Questions
There are 3 stages of video production: Pre-Production, Production, and Post-Production.
Video is edited in the third stage of video production called the post-production stage. This stage includes all things like editing, color grading, and visual effects.
At the pre-production stage, you brainstorm why you’re making the video, who the key audience is, and what you’ll need to have a successful video.
Shorter videos can be completed in a few hours or days. Longer ones can take as long as months to complete.

Founder at LocalEyes Video Production | Inc. 5000 CEO | Emmy Award Winning Producer